About

A blog about SCAMP (Small Craft Advisor Magazine Project) boats. Covering the build, sailing the boat and the scamp community that has formed around this little portly boat.
Showing posts with label lights. Show all posts

Monday, January 26, 2015

More beautiful weather.

The weather stayed nice so I did some more work. I didn't get any pictures, but I ran some finger fillets around the underside of the the deck. Now it should be well sealed against water.

Quincy painted the inside of the cabin sides, so they were ready to install.

I glued the cabin sides on.  I had dry fitted them last week, so I knew right where they fit and had already used the rasp to file the front and fit it well.

I did not cut drain holes in the cabin sides. I hope I don't regret that. I suppose I can cut them out with a fine saw sometime in the future if I feel it's needed.

Sides installed.
It looks good. The fillets looked very nice even though I hadn't practiced in awhile.

I took a few inside shots as well.
Since everything fore of B3 is already painted, I don't have to do much there. Although I will paint the exposed inside areas before I glue on the cabin top.
Inside the cabin.

A view from the front.

bow view

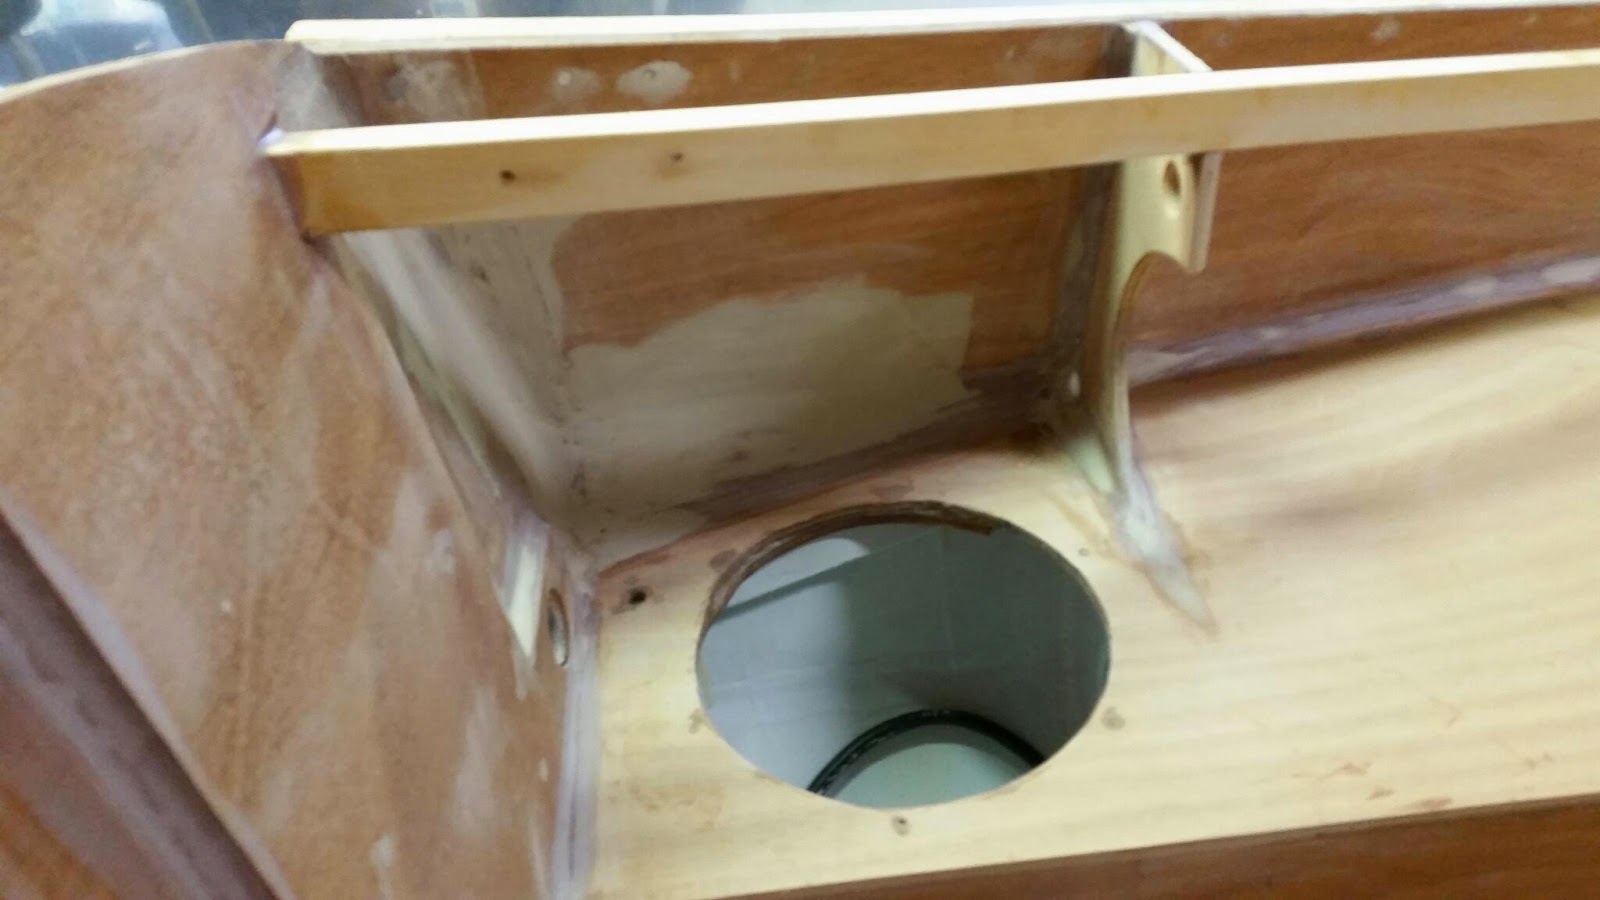
A shot of the nav light mount

The nav light mount looks terrible now. Some sanding will take care of it.
I will have to do some sanding of the entire deck before I can coat it. But I can do that even if it is cold.

The next step is to wire the nav light. The ends will fit through the hole and the wires running to the circuit panel will go through nylon quick release clips. That way I can replace it with another light easily without a lot of mucking about with wires.

My plan is to finish off the inside of the cabin and then get the cabin top glued down.
Then I will flip the boat and do the bottom before finishing the coamings and painting the interior.


Beautiful weather; time to work

The weather all weekend was beautiful. Near 70 degrees so I took some time to get some tasks finished up.

This will be a long post, so bear with me.

First, I hung the deck up so that I could get a the seats and do some serious sanding on them. The supporting cross bar is a trick I learned from bcbimmer on the infamous #70 thread. 

Hanging the deck upside down.
Then I got down and did some serious sanding on the fairing coats I had done. It really didn't take too long as the 410 compound is easily sanded.
starboard aft corner cleaned up

Port aft corner
Then when I was happy with the smoothed out fillets, I was able to coat the seats. This is a picture of the first coat on there. It really looked good.
First coat on the seats
And the fillets and fairing in the aft corners looked great. In the below picture, the colors make it look really ugly, but believe me that it is all smooth and shiny and looking good.
Starboard aft corner after first coat.
port aft corner after first coat.
I coated the bottom of the deck twice. For the second coat of everything I added white pigment. That way I know I coated everything. I also know when I sand through a layer. I have a tendency to do that.
This shows the white seats and the first coat on the deck.
The next morning I was able to glue down the deck. Unfortunately, there were some drips on my nice clean seats. I need to remember to lay down plastic every time I'm doing something because drips do happen.

Anyway, the glue down went very well (other than the drips). The fir pieces fit exactly in place and added extra meat for the glue.
The deck glued down.
You can see the screws holding the deck down. I've not used a lot of screws in this build.
Front view
I drilled a hole for the nav light in the bow. It's just behind the spine, which is a bit further back than I wanted it, but it will be fine.
The mounting pad fit just right with the bevels I made. It will be angled up just a bit, but acceptable. It's hard to level something on a boat that you know isn't level on the blocks. And my garage floor certainly isn't level either.
The mount for the nav light.
The mount from the side.

Wednesday, January 21, 2015

Bow nav light

I bought a Perko Stealth light because it was small. The construction seems to be sturdy and it came with a rubber seal gasket.
I took a small piece of 9mm plywood and built a base for it. I sanded the base so that the bottom ply was sanded away at the center. This fits the curve pretty well.

It does have leads and 9/16" hole out the bottom. I'll have to figure out exactly where to run that through the deck.
Perko Stealth nav light.

Saturday, January 10, 2015

Nav lights followup & deck glue up

I started a thread on nav lights over on the scamp build forum.  It turns out that you need to purchase Coast Guard approved lights to avoid any problems. This appears to be a showstopper for any custom lights. I'll probably pick up a small combination light from DuckWorks for the bow.

The reason this is even on the radar is because I am preparing the deck for it's eventual glue down. Last week we had a few warm days where I was comfortable getting the deck glued together in place on the boat. It's not glued down yet, but now that it is together, I can finish drilling the holes to screw it down.
port side deck glued together
I used a 5 gallon bucket of water to hold it down in the aft and a box of old tiles in the front.

entire boat.
I can drill pilot holes all the way to the aft transom now. Once I do that, I'll tack it down in a few places and draw lines under the deck. I'll fit some blocks in there to hold the cleats and other deck paraphernalia.

Then I'll flip it over and coat the underside of the deck before I glue it down.

I'll need to run electrical wires up to the bow for the bow light. I may also wire up the under deck for LED strip lights. I think lights in the cabin may be more effective though.

Friday, January 2, 2015

CG Nav lights regulations?

According to USCG regulations, the red and green side marker lights need to visible in a 112.5 degree arc (90 degrees from the fore + 22.5 degrees abaft). The sidelights also need to be visible for only 1 mile per rule 22.
Per rule 25, I only need sidelights and a stern light, but a combination mast light is acceptable (25b).

I would like to mount waterproof LED strip lights for nav lights on the bow. The problem is the 112.5 degree arc running abaft.
The plan is to route some slots in some mating wood pieces that wrap around the bow.  I've got a crude drawing below. After a second look, I think the bow transom mounted piece would go all the way to the top of the bow curve, just for esthetics.
A way to mount LED strip lights for 112.5 degree arc.
Does anyone know if strip lights are acceptable by the USCG? Since the regs don't actually say that only single point lights are acceptable, I would think LED strip lights would be acceptable. I'm sure the visibility of the lights are good to 1 mile and probably even good to 2 miles.