Last weekend,
I posted about my attempts at maintenance. Over the week, I've finished up quite a few of the projects.
Centerboard rigging
The simple 6mm standoffs I built are now done and attached. This seems to keep the rope & tackle away from the sides. It still bumps occasionally, but not nearly as bad as before.
In the pictures below, you can just see the standoffs.
 |
| See the standoffs under the cleat and under the padeye? |
 |
| Another shot of the fully attached fairlead. |
Skeg trailer hitches
I got this idea from Simeon. In
this thread on the SCAMP message board, he talked about tying a rope through his skegs to his trailer. I thought that was a good idea as I've never liked the belly strap method where the straps go up & over and have the possibility of marring or breaking the coamings.
But I didn't like the idea of threading a rope through the skegs each time. I rather liked the idea of toggle bolts instead.
I ordered some 5/16" toggle bolts that were rated to like 900lbs on the pull through. If I were to do this over again, I'd use 3/8" or 1/2" toggle bolts instead. I also ordered some short webbing straps and stainless black 1 1/2" fender washers.
Then I got to work drilling holes in the skegs.
After piloting, I used a 1 1/2" paddle bit to chow a hole in the side of the skeg.
 |
| Hole in the skeg |
 |
| Hole with washer inserted. |
I over drilled with a 1/4" drill bit a guide for the toggle bolt. This will be filled to make sure no wood is exposed.
Then I filled the hole with thickened epoxy glue and glued the washer in. It's easiest to sink the washer in just a little bit so it is a mm or so below the surface. You can fair this later with thickened epoxy.
 |
| Washers glued in and tape over them to hold |
When that was done, I drilled the 5/16" hole through the middle for the toggle bolt.
 |
| Toggle bolt and eye nut in place |
 |
| And here it is with the strap in place |
I wasn't too happy with where the washers ended up and since glue doesn't stick very well to stainless steel, I then mixed up another thickened batch of epoxy and faired over the washers. This way they are unlikely to fall out.
 |
| Shot after fairing a bit. |
 |
| toggle bolt though the hole |
 |
| port side in place |
 |
| and tied down. |
 |
| shot of the interior with the toggle in place |
I used it just today and it worked fine.
Downhaul rigging
I wanted to re-do my downhaul so that I could get more tension on the luff of the sail. I had been using a single block/v-cleat combo to pull it down, but it was hard to reach and hard to get leverage.
I decided to do something more like the plans. To do that, I wanted to have a fairlead and cleat on the cabin top. When I built the cabin top, I had placed a doubler under the cabin top where I knew I might want a cam cleat.
I just needed to create a block of wood to raise the cleat up just a little bit. I cut that from some spare chunks of doubled up 6mm plywood and re-coated that with epoxy.
Then I had to sand it down to fit flush on the curved surface. I used a trick I learned from Dan bcbimmer. Just tape a piece of sandpaper on the curved cabin top and rub the piece back and forth.
 |
| Shaping the block to fit the surface |
After it was shaped, I need to sand down the paint to get it to stick.
 |
| Just before gluing down the block |
 |
| dry fitting the parts where they belong (oops, the cam cleat is upside down) |
 |
| Pilot holes drilled and glued down. Fillet applied |
 |
| dry fitting the parts |
 |
| Finally, it's painted |
I'll wait a few days for the paint to harden up before I mount the fairlead and cam cleat down. The fairlead is just screwed into the block, but the three #6 screws in the cam cleat go all the way through the block and have acorn nuts on the bottom.
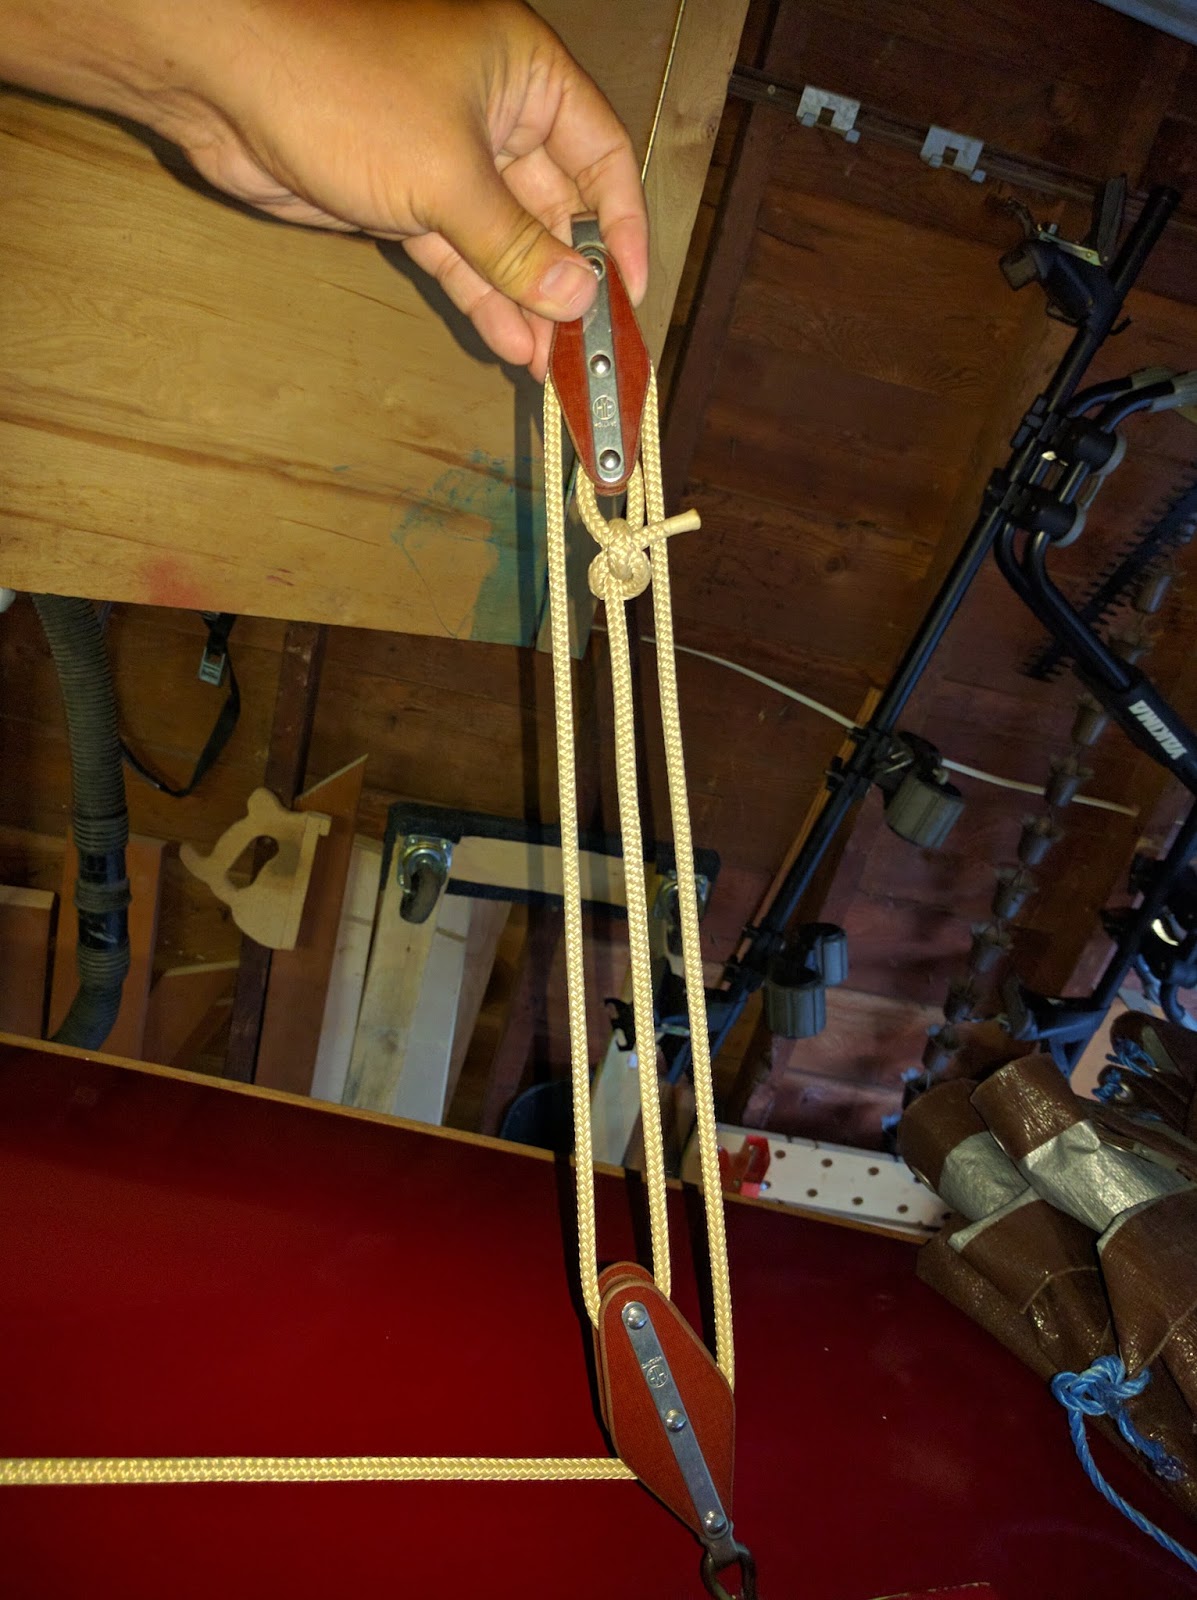
A line on the padeye on the boom will go down and through a double block mounted just next to the mast box. From there, it will go back up to a block mounted on the same padeye on the boom and back down through the double block. Then it goes after through the fairlead and cam cleat. This gives me a 2:1 purchase. Not as good as some others, but I can fix it later with more blocks if needed.